
Greetings, Mystic Meows!
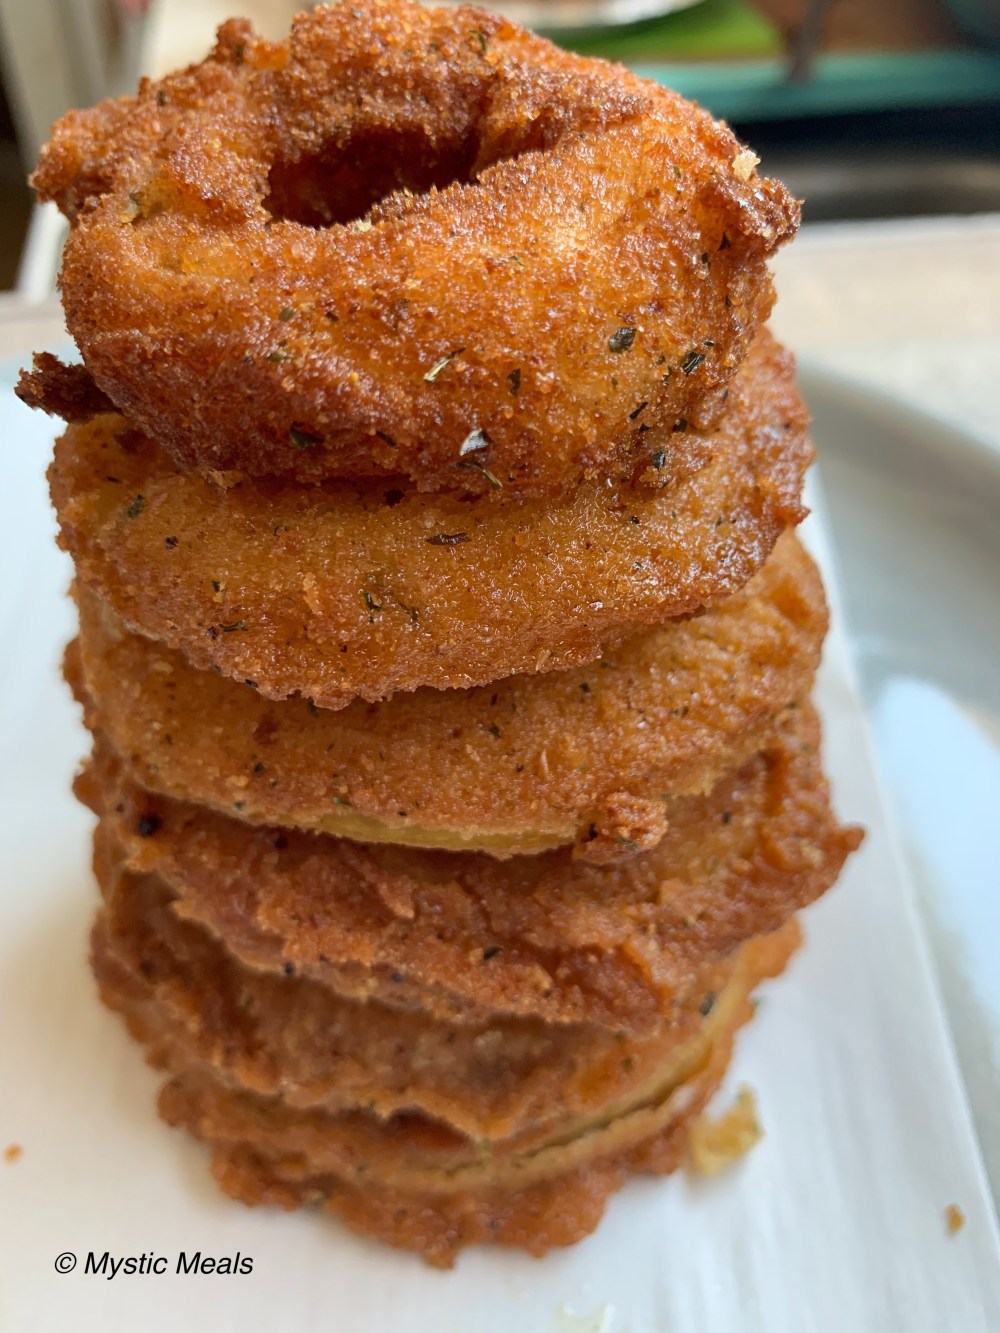
Do you ever just crave something fried, like french fries, fried chicken, or onion rings? I’ve had some wicked fried food cravings these days and I decided to bite the culinary bullet and go for it! I have to admit… It took me a long time to warm up to homemade onion rings because I grew up eating and still love eating what I refer to as the “cheapie” onion rings. You know the ones… chopped up pieces of onions mixed with whatever fillers or batter they use to make them so perfectly round and tasty? The kind you get at Burger King, an old school greasy spoon Diner, or from the frozen section at the grocery store? Hey… We all have those guilty pleasure snacks, right? It might not be the best stuff to eat, but then again, I’m not eating this stuff every day, either so… Meow!
Onion rings are incredibly easy to make and most of us have the ingredients for preparing them right in our cupboards. Flour, baking soda, salt, pepper, a bit of paprika paired with some milk and eggs, along with those trusty onions are all you need, with oil, of course… although I go an extra step and coat them with breadcrumbs for that added crunch factor that I love. I suppose the next question would be, what kind of onions work best? In theory basically any type of onion will work, but I find that some kinds yield better taste and results than others. I typically use yellow or white onions, and like to use ones that are in between medium and large in size. While you can of course use the whole onion for rings, I find that saving the smaller inner rings to be chopped up and used in other recipes works best for me. The larger outer rings make for easier frying, anyways.
You’d be surprised by how many onion rings you can get out of just one bulb. At least a dozen if not a little more. Depending on how many meows you’re feeding, if cooking just for yourself, I’d stick with one. If feeding a crowd, I would use 2 to 4 onions. That all depends on how wiley you’re feeling in the kitchen! This recipe yields a fair amount of batter for using just one onion, and can be easily doubled and tripled if using more. I hope you give these a try and have some fun frying away!
** Food for Thought : The other bit of advice I have while you’re frying is to not let the oil become too hot otherwise the rings will cook too quickly and become too dark. Some adjusting of the heat and fry time will be mastered once you start to cook them. And I would fry in small batches, doing 4 to 5 rings at a time to have more control over how they fry and getting that golden brown color so you’ll have better end results. **
Crunchy Onion Rings
One medium to large sized yellow or white onion, sliced 1/4 inch thick and separated into rings ( peeled of course…)
3/4 cup of All Purpose Flour
1 Tbls baking powder
1 heaping teas. of paprika
2 Tbls. of cornstarch
1 teas. ground pepper
1 teas. salt
1 Whole Egg
3/4 cup of milk
Breadcrumbs for coating
Vegetable, Canola, or your favorite oil for frying
1. In a large bowl, combine the flour, egg, baking powder, cornstarch, paprika, milk, salt and pepper. Mix together until you have a smooth and slightly thick batter. If too thick, add a splash more milk. If too thin, add a bit more flour one teaspoon at a time until desired thickness.
2. Add about 4 onion rings at a time to the batter. Meanwhile in a medium sized pot or preferred frying pan, heat up the oil over medium heat adding just enough oil so that the rings will float.
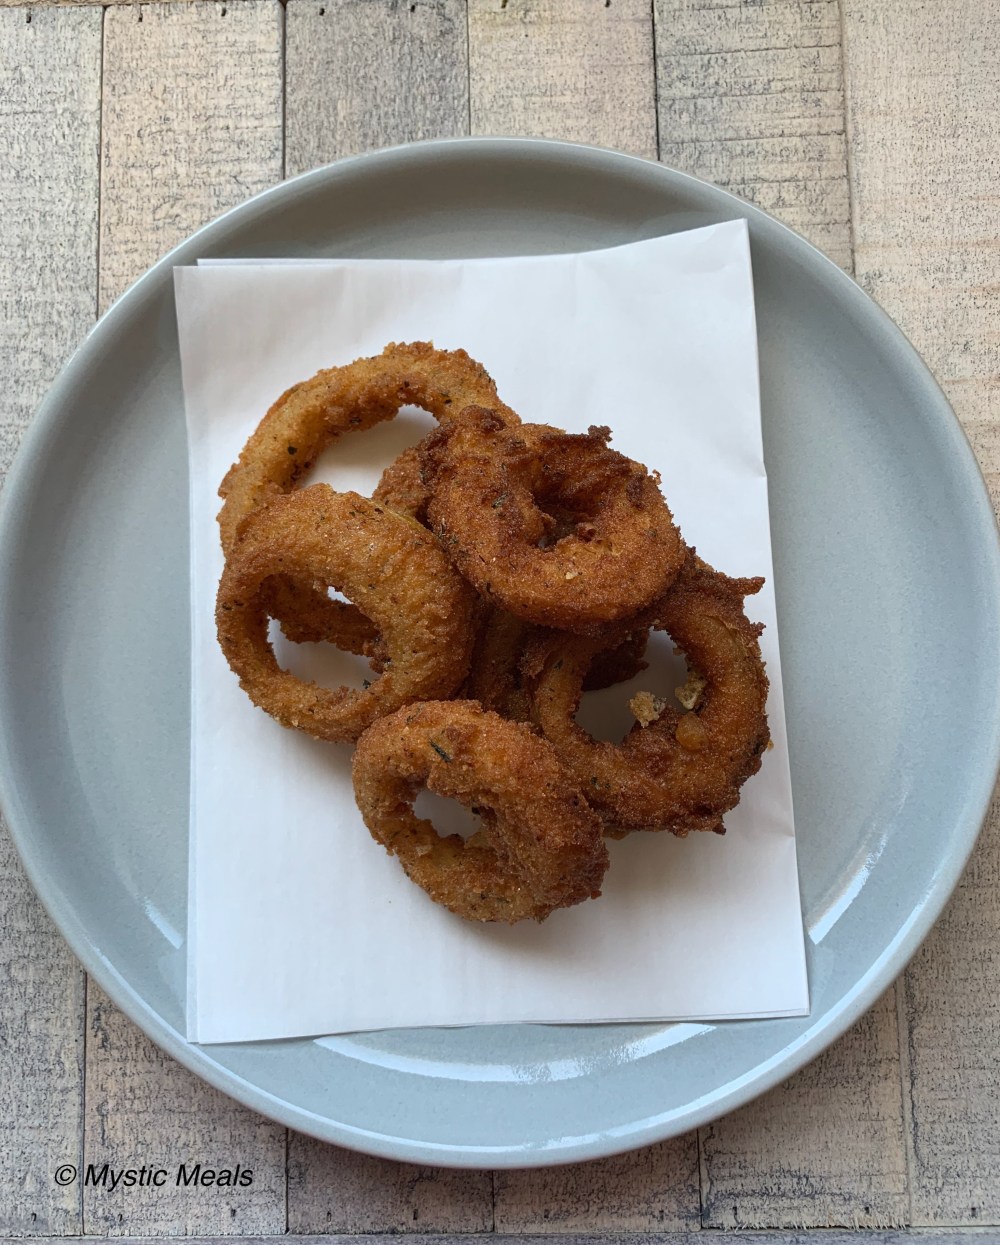
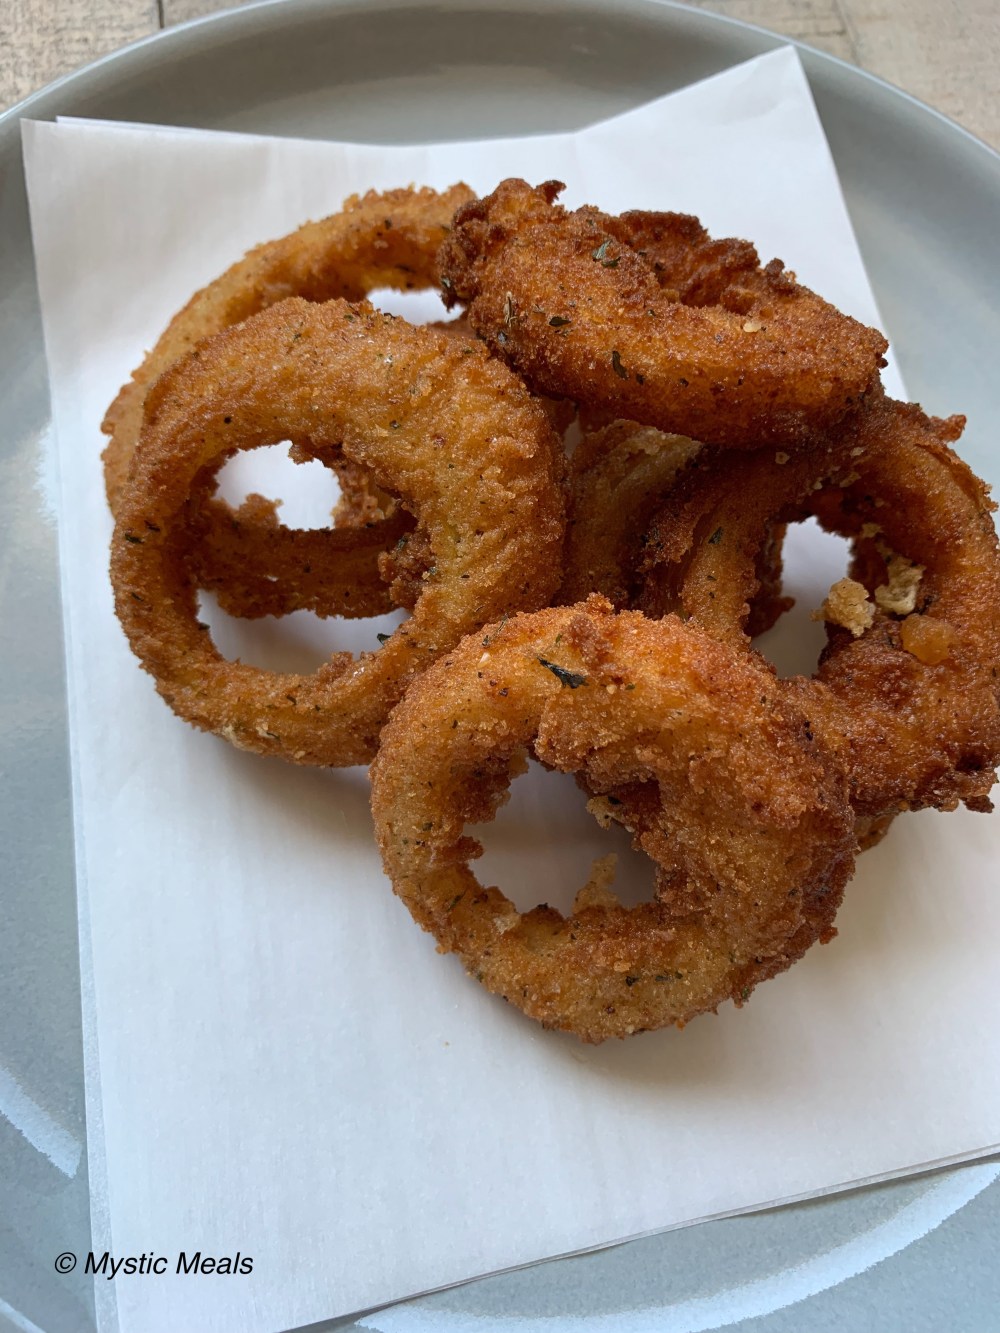
3. Thoroughly coat the rings in the batter, allow some excess to drip off and coat the battered onion rings with the breadcrumbs and fry immediately for about 2 minutes per side until nice and golden brown. Adjust the heat of the pan so the rings won’t burn. Once browned, remove and set on a plate with paper towels. Serve these bad boys with your favorite ketchup or bbq sauce and munch your heart out!
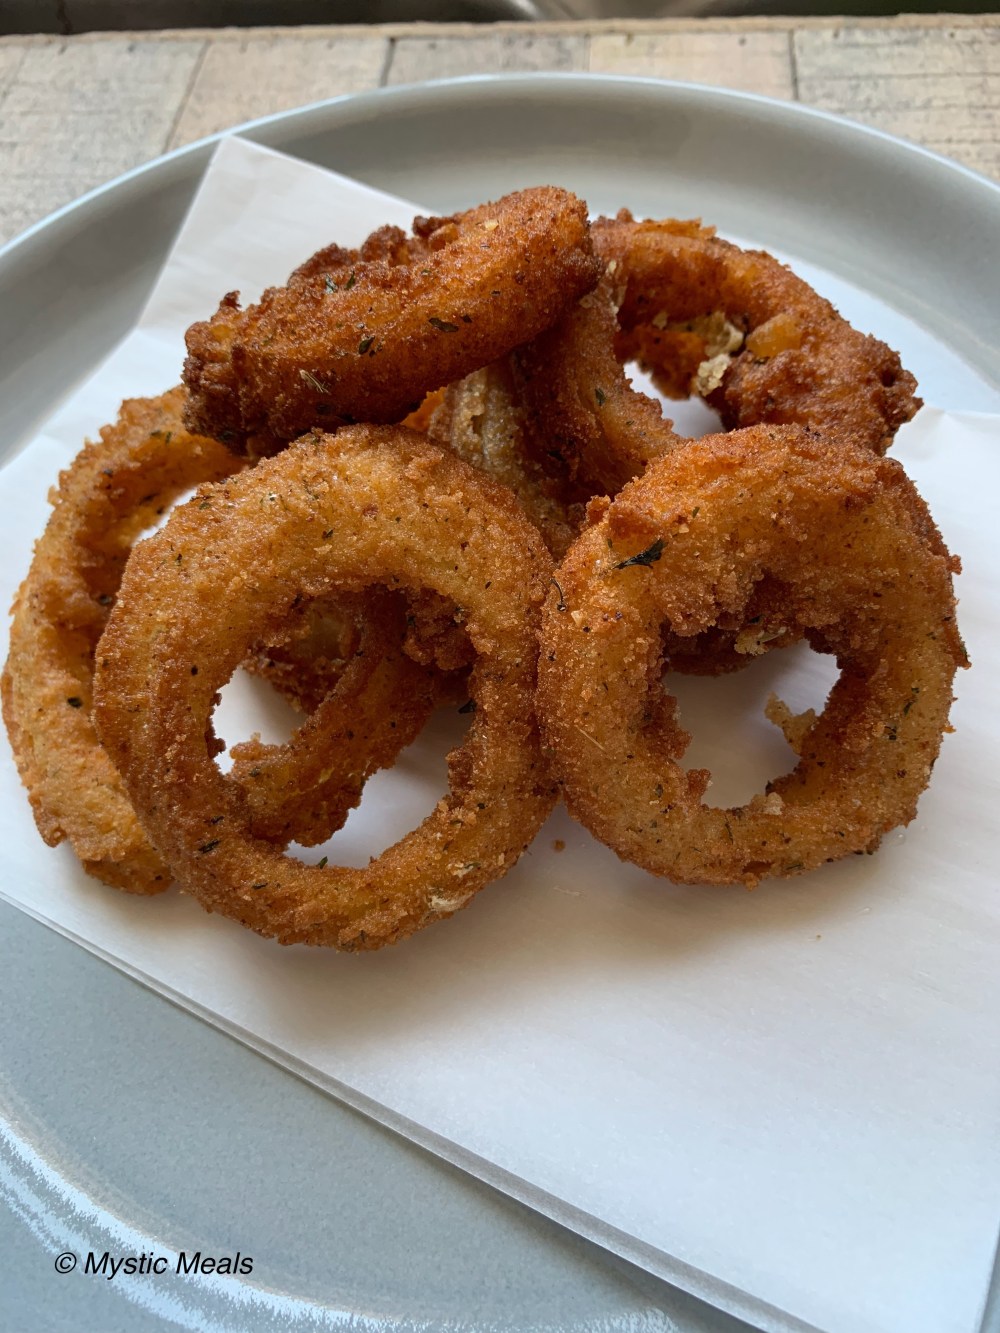
I love to eat these on their own, but also serve them with burgers and sandwiches, and these also reheat really well in the oven, too! So no worries if you have some left over, but I doubt you will!! And there you have it, dear reader! Another delicious recipe to help bring your next mystic meal to a new level of awesomeness! Until we eat again… Thanks for stopping by and Happy Cooking!
Cheers, Hugs, and Meows!!
Xo, Nikki 💕✨
Follow Mystic Meals on Instagram, Facebook, and Twitter!

I think I might be able to actually do this one without failing 😅
Thanks for sharing the recipe!
LikeLiked by 2 people
Mama, it is so easy. Even if the first few don’t turn out that great, which by the way almost ALWAYS happens, don’t be discouraged!! They’ll get better as you fry along, I promise!! Thanks for reading! :*
LikeLiked by 1 person
mmm. . . the onion rings look yummy. I love onion rings, but have never tried making them from scratch. I may have a give it a try.
LikeLiked by 1 person
Hello there, Sheryl! They really are easy to make. Whenever I make them I always have the sacrificial lambs so to speak… The testers. One’s that might cook and brown too quickly because the oil is too hot. But stick with it! Once you get the hang of it, it’ll become second nature and you’ll be able to whip them up in no time! Thanks for dropping by! ❤
LikeLike