Greetings, Mystic Meows!
Now that the Summer season is rapidly approaching, it’s time to get our menus ready for all that outdoor picnicking and grill friendly cuisine! But what if I told you that in terms of burgers, that the best way to cook them isn’t on a grill? Would you think that I was cuckoo for cocoa puffs? Well, I am, but that’s beside the point. 🤪I’m a chef after all, and most chefs are slightly bonkers in the head to draw it mild! 😜 Most of the classic All American style burgers that I grew up eating from some of the best diners in the world (NYC, of course… ) were cooked on griddles, or flat tops, which is a solid sheet of metal heated by burners underneath them, and not on an actual grill. Don’t get me wrong… I love me the taste of a char grilled burger, however when cooking burgers at home, a well seasoned frying pan, or even better, a cast iron skillet is your best friend. The heat is evenly distributed and helps you get that delicious crust on both sides. But let’s start with the essential building blocks for the perfect classic cheeseburger.
The Meat
Let me start out by saying that when it comes to ground beef for burgers that fat is your friend. You don’t want to use meat like ground sirloin for burgers because it’s very lean with little fat content. You NEED the fat to give you that juicy, flavorful burger. Because the components of a burger are so simple and straightforward to begin with, it’s important that above all, you start with the highest quality of everything from the outset. For the best burger results you want a fat to meat ratio of 80/20. That’s 80 percent meat to 20 percent fat. If you can find it, 75/25 is even better. But let’s stick with 80/20 for now. 100% ground chuck is great, but if you have a local butcher in your area, or good butcher counter at your local supermarket, see if they can grind up a chuck/brisket combo. It’s slightly more expensive per pound, but hot damn is it worth it!

Another important step in making burgers is the freshness of the meat itself. Don’t use frozen and thawed ground beef as it will be a lot tougher and a bit dryer. Save that for meatballs, meat sauces, chili or meatloaf if you can 😉 When shaping your burger patties, the less you man paw the meat, the better. Try to be quick about the actual shaping process. This will yield a softer, juicier, and tender burger. If weighing the patties, I’d stick with the traditional size of between 5oz to 8oz per patty. Also, when you’re shaping the patties, try not to pack the meat and make it too dense. This will also result in a tougher cooked burger. Again, the less you handle it, the better. Season well with salt and pepper on both sides before cooking.
The Cooking Method
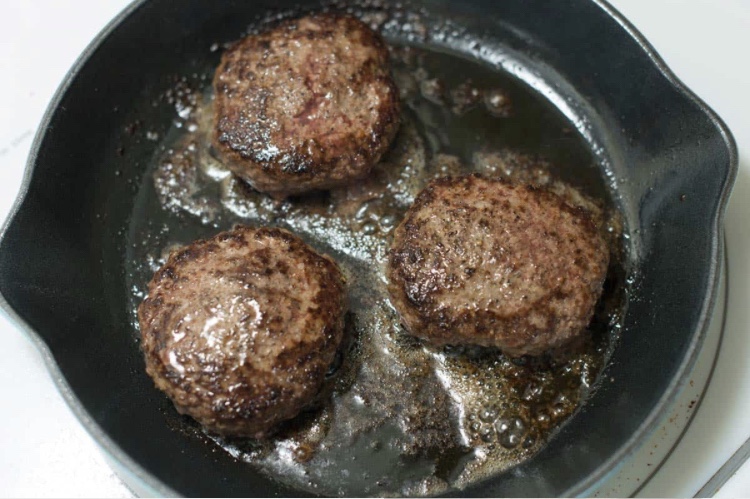
Now it’s time to get our trusty cast iron skillet ready! Add a drizzle of your favorite cooking oil to your skillet and get it nice and hot. Once the oil starts to shimmer and move like little waves on a lake, carefully add your burger patties, and leave it alone until you’re ready to flip it. Don’t press it with the spatula, or move it around at all. This is how you create that flavorful crust on both sides. It’s the same as if you were making a steak. Depending on how you like your burgers cooked, for a true medium burger, cook for 4 to 5 minutes per side depending on the weight and thickness of the patties themselves. This searing of the burger patties will give you a light and juicy burger because the meat isn’t over worked or over cooked. You’ll have some rendered fat from the burgers in the skillet, so be sure to spoon most of that out so as not to steam cook the patties.
** Side Note~ Grilling. Most of us do associate a good burger with the grilling method but allow me to explain the difference. A burger usually cooks faster than a steak, and what you’re looking for is the actual browning of the protein in the meat, which creates depth of flavor. This is called The Maillard Reaction. A steak can benefit from being cooked on a grill because of its high fat content and longer length of cooking time. The meat won’t become tough or dry out as a burger would, because a burger takes a shorter amount of time to cook, therefore it benefits more from an even surfaced cooking vessel, like the cast iron skillet to cook the burger quickly and evenly across the total surface of the burger** Meow 😻
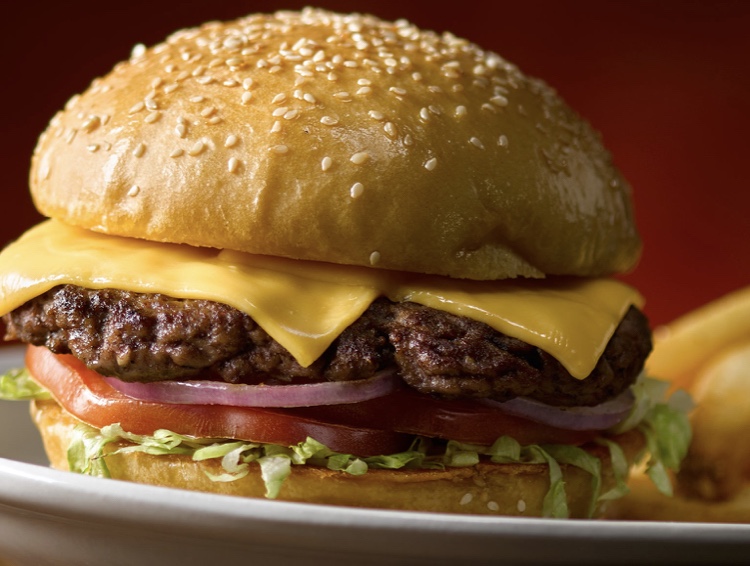
The Yummy Melty Cheese
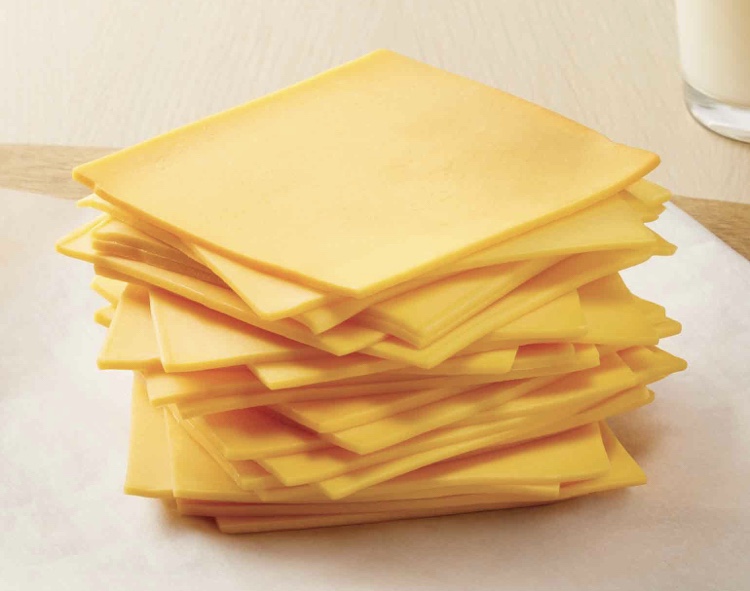
So now it’s Queso ‘o clock for those boigahs! For the Classic All American Cheeseburger you definitely want to use American cheese. It’s melty, ooey gooey, and delicious! And don’t skimp on the amount of cheese you use! At least 2 slices for each burger so it melts all over it and adds to the awesomeness of every bite! A little trick to getting the cheese to melt is by adding a Tablespoon of water and covering the burgers for no longer than 10 seconds. This will help melt the cheese without altering the temperature or texture of the burger. It’s not a necessary step at all, but it does add a nice touch to the burgers themselves.
Buns, Buns, Buns!
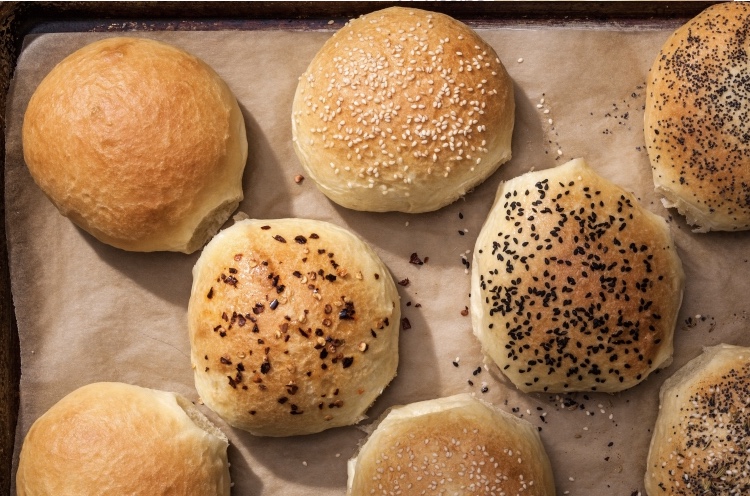
Okay… this is where it becomes a matter of preference because we all have different tastes when it comes to the style of bread for burgers. A sesame seed bun, brioche, potato, whole wheat? It’s entirely up to you. The one thing I will suggest is that no matter what type of bun you’re using is to toast the buns on both sides with a bit of butter. It just adds a richness and texture to the end result of your classic burger extravaganza!
To Sauce or Not to Sauce?
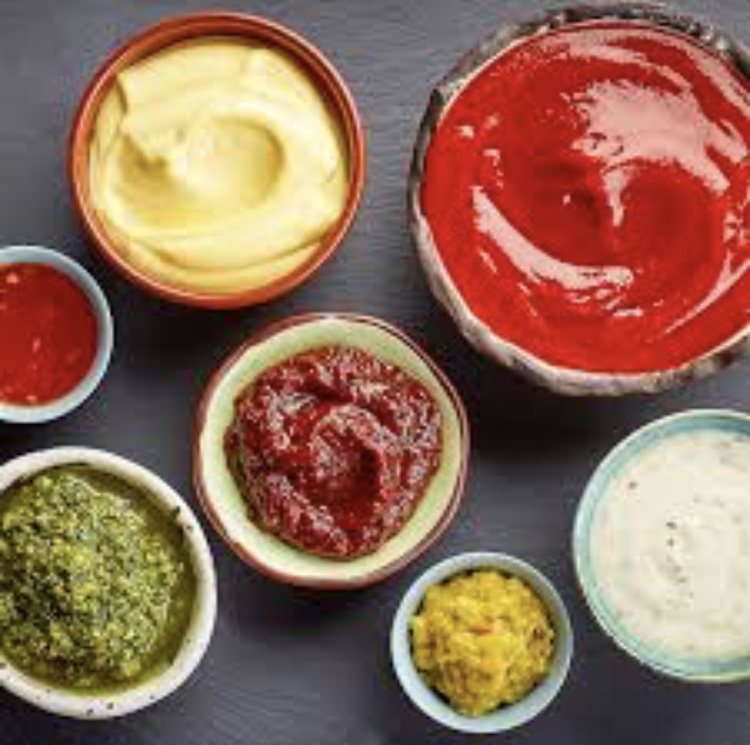
Again… pure preference here. I like my burgers pretty simple. Ketchup. That’s all I need. And that’s how I like it, so there! BBQ sauce is a close second, though… However, there’s a world of options as far as what kind of sauce to put on a burger. Most meows enjoy the ketchup, mustard, mayo combo, while other meows enjoy that secret sauce, or thousand island type of crazy sauce. All of these options add depth and flavor to the burgers without taking away from the flavor of the meat. They should enhance the flavor, not cover it. And that’s all I have to say about that… 😛
Sides, Sides, Everywhere There’s Sides!!
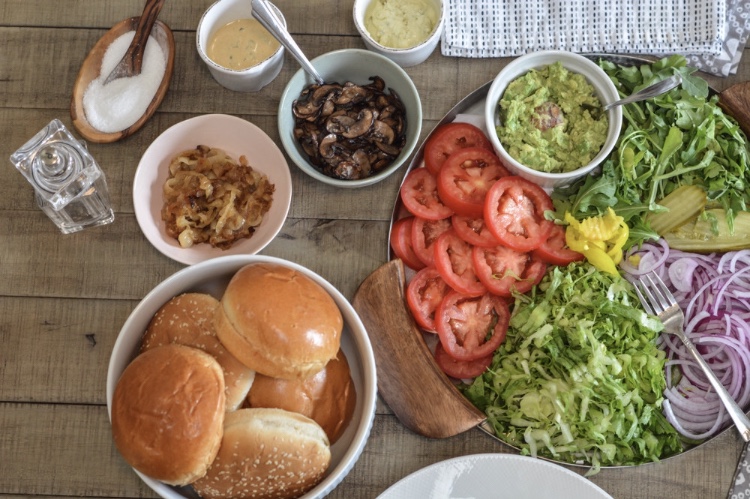
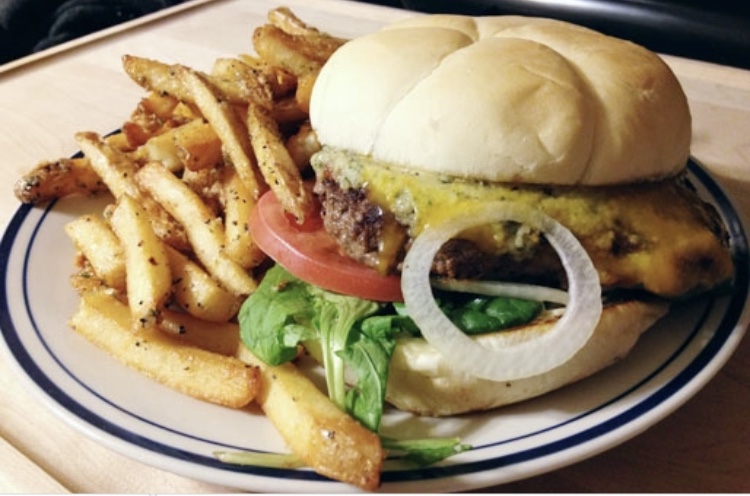
Give me some lettuce, tomato, pickles, onions and I am good to go! A happy meow indeed! French fries? Onion Rings? Sweet Potato Fries? Tater Tots? Cole Slaw? BACON???? Baby it is ALL GOOD!!
And now we’re ready to feast on these succulent burgers of love! I hope this helps you create the ultimate classic cheeseburger and perhaps see them and taste them a whole new way. By changing little things here and there, it makes something as simple as a burger become one hell of a mystic meal and transforms itself into another kitchen staple to be enjoyed all year round. Thanks for stopping by, dear reader! Until we eat again… Happy Cooking!
Cheers, Hugs, and Meows!
Xo Nikki 💕✨
Follow Mystic Meals on Facebooks, Instagram, and Twitter!
Images courtesy of Google 😉

Brisket/chuck combo?! SOLD. Definitely doing this next time.
LikeLiked by 1 person
Hey, Colleen! YES!! It makes such a huge difference. Guaranteed to be the tastiest burgers, EVER!!! 😉✨💕🍔
LikeLiked by 1 person
Reblogged this on Crackling Pork Rinds.
LikeLike
Thank you for the reblog! 🥰
LikeLike