Greetings, Mystic Meows!
Well, after many many years of wanting one, I finally got a stand mixer as a Christmas gift! I know… you’d think that I would have already owned one, but let me tell ya… Most professional kitchens have one if not a couple, and they’re of course industrial and built to make a buttload of products, so I’ve been rather spoiled as to having access to this type of equipment and never really felt the urgency to own one since I could always just use it at work. But now that I work from home, I’ve found myself with the desire to bake more and try my hand at different ways of being creative in the kitchen and wanting a stand mixer so I could step up my game and not be inhibited by only being able to make things with my hands. Not that I have anything against the old fashioned ways of doing things, but hey… if you can save time, make things a bit easier, and not stress out too much about it all, then why not? So… here we are. The first thing I decided to make was these sexy as hell Milk Bread rolls. What the flip is Milk Bread, you ask? Well, it’s bread made with milk. And it’s really good. MEOW! 😛 But seriously…
Milk Bread is a Japanese recipe which has various origin stories as to how it came about in the culture. Rumor has it that it may have even been invented by a British baker back in 1862 who decided to open up a bakery there. The closest thing I can equate it to is our own American white bread as far as the texture of it, however the Japanese Milk Bread’s taste is not only superior, but slightly sweeter and contains way more fat in the dough. That being said, there are a gajillion different recipes for it out there, but they all contain milk. Whether, whole milk, powdered, or sweetened condensed, finding your favorite recipe of course takes time, practice, and patience. But the end result is always worth it.
The recipe for my Mystic Milk Bread is SUPER easy and simple to follow. That’s what I love about it. I’m sure you already have most of the stuff in your kitchen to make it, and if not, everything is easy to find at the store. AND this recipe does not require a starter, like sourdough for example. The mixer pretty much does all the work, with the bare minimum of hands on prep time. The end result is a bread that is soft, bouncy, pillowy, and dare I say it? Foolproof? Well, here’s why :
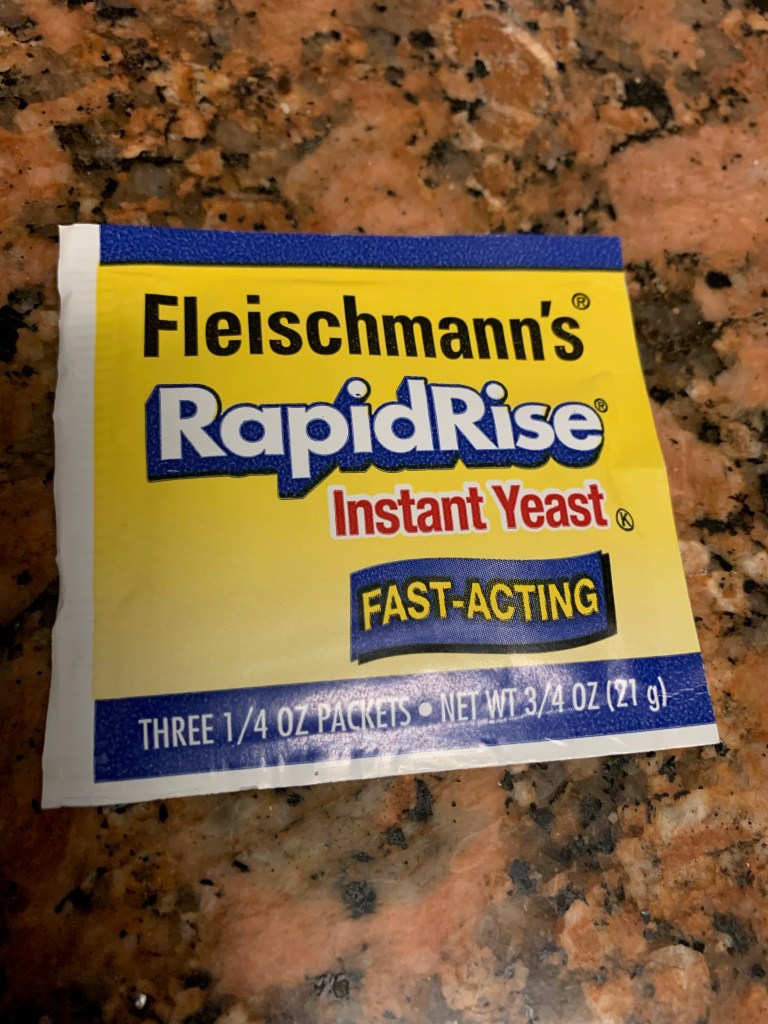
Yup. Instant yeast. You literally put it right in with your dry ingredients. No activation required, which can be an intimidating step for some. Even though it really isn’t and is something everyone should try to master in case you can only find active dry yeast at the market. However, if yeast isn’t activated properly, well… it just won’t turn out the way it should. Rarely can you skip crucial steps like this in baking because unlike cooking where you can kinda sorta play around, adjust and rearrange the ingredients, ratios, quantities, etc… With baking you gotta follow the recipe to the letter, otherwise fugehtabout it! So meows, I’m here to share this recipe with you in the hopes that you try it out and see for yourself how easy it is. All you need is your trusty stand mixer, and a bit of time… Let’s go!
Mystic Milk Bread Rolls – makes 18 to 20 pieces
Ingredients :
5 cups of AP or Bread Flour
1 1/2 cups of Whole Milk
2 packets of Instant Yeast
4 Tbls. Sugar
2 tsp. Salt
8 Tbls. melted butter ( salted or unsalted )
2 large eggs
1.) In a small sauce pan, slightly warm the milk just enough to remove the chill from it. In another small sauté pan or microwave, melt all of the butter, being mindful not to burn it. Set aside.
2.) Ready your stand mixer with the dough hook attachment, and add in all of your dry ingredients, including the instant yeast. Start your mixer on it’s lowest setting to start incorporating the flour, yeast, sugar, and salt.
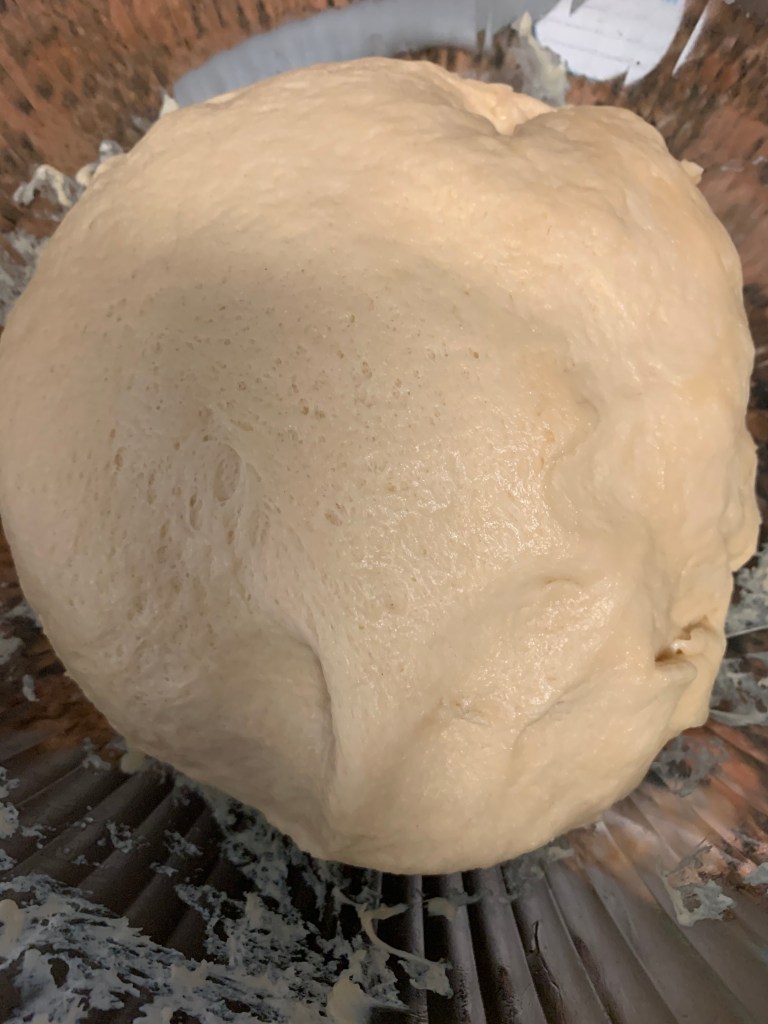
3. Slowly add in the warm milk, butter, and then the two eggs. Turn up the settings on your mixer a bit higher ( not too high, but about medium speed ) and knead the dough for about 10 minutes, stopping from time to time to scrape the sides and make sure that the dough is doing it’s thing and is well blended. It should pull away easily from the sides of the mixing bowl, be slightly tacky and and not too wet, but still easy to handle with your hands.
4.) Once your dough has been kneaded, grab a large bowl and lightly grease the insides with a bit of oil. Place the dough in the bowl, cover it with either plastic wrap or a damp towel, and leave it in a warm spot and allow the dough to rise for 60 minutes or until it just about triples in size. ( I pre heated my oven and let the bowl sit on top of my stove )
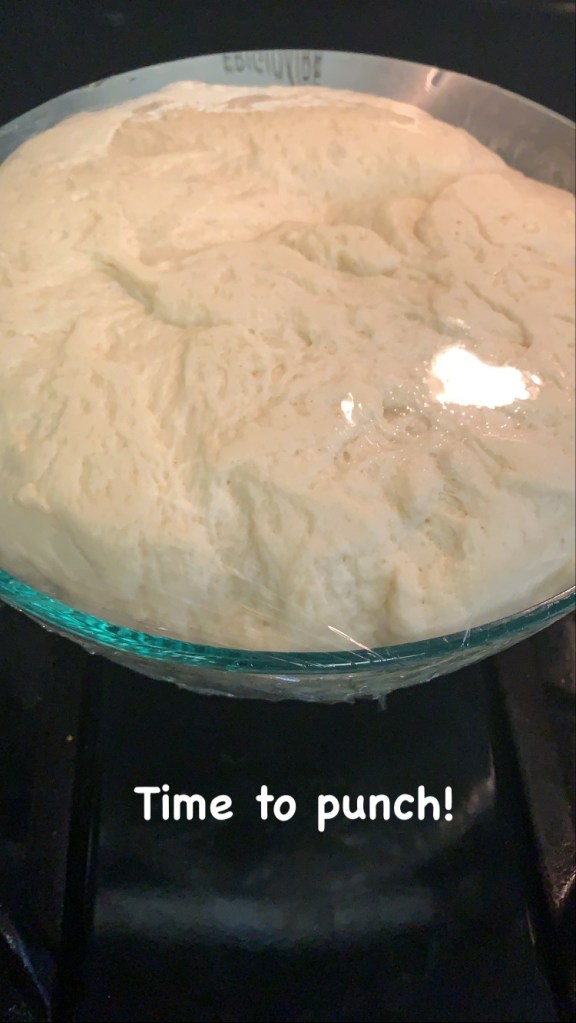
5.) Now it gets fun. Punch down the dough to release the air and remove the dough from the bowl to start shaping into balls which will become our rolls. For even looking results, I weigh out the dough into 2.5 ounce pieces per roll, but if you don’t have a scale, try your best to portion out the dough balls as evenly as possible so they all relatively look similar and cook at the same time in the oven. Slightly shape the dough into smooth looking balls and place them on a large sheet pan with parchment paper, or greased aluminum foil so they are touching each other ( oh, myyyyyy). Like this…
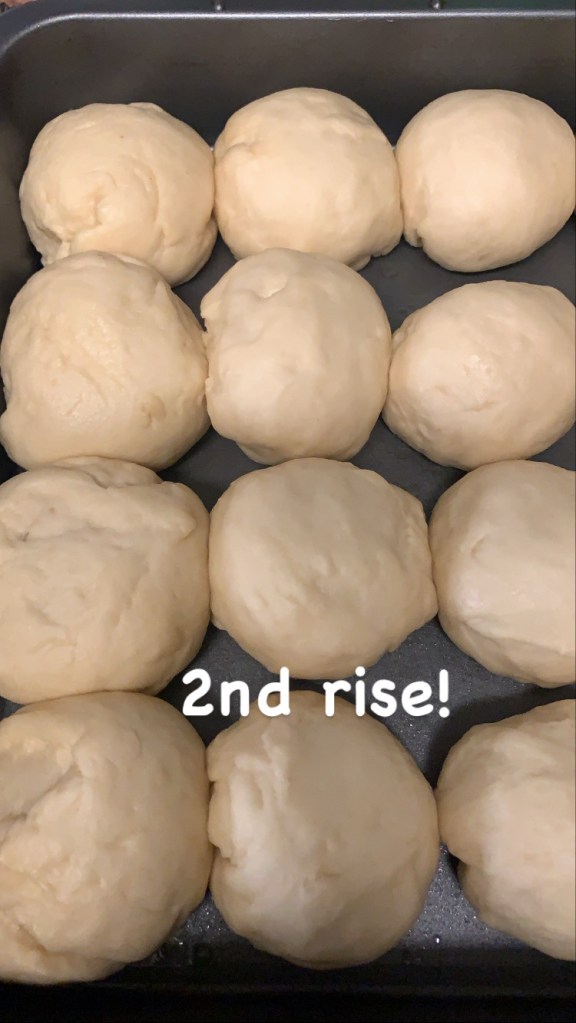
6.) Now that you have all of your dough layed out on the sheet pan, Cover again with plastic wrap or a damp towel and let the bread rise for a second time for just about 45 minutes. Preheat your oven to 350 degrees.
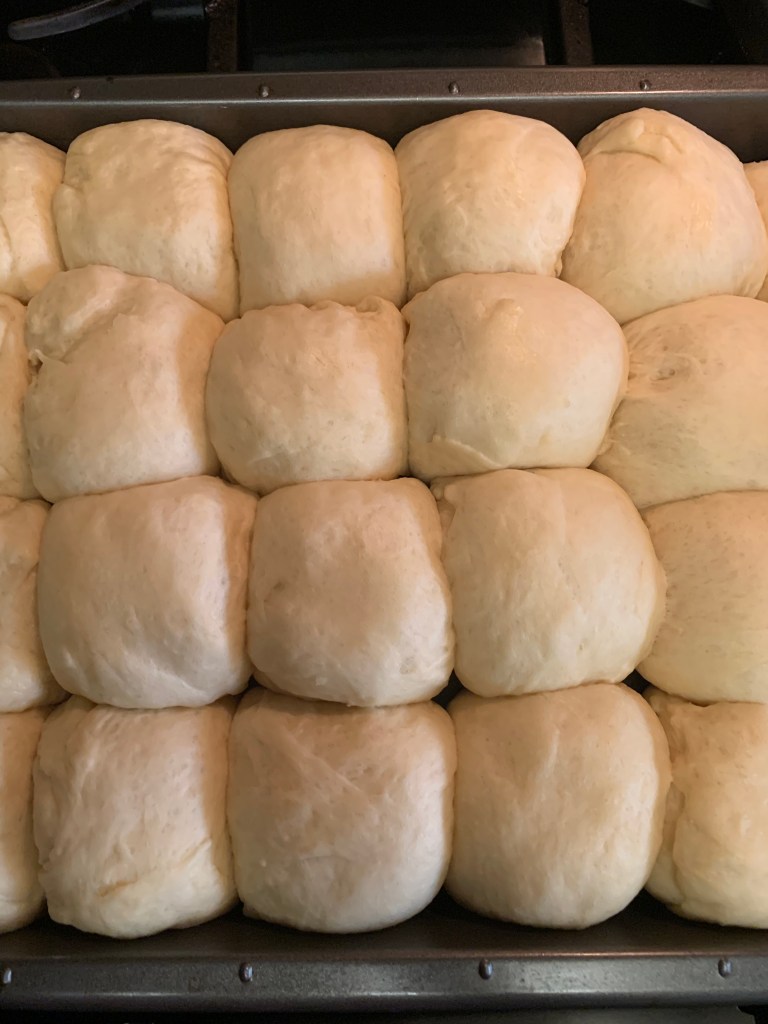
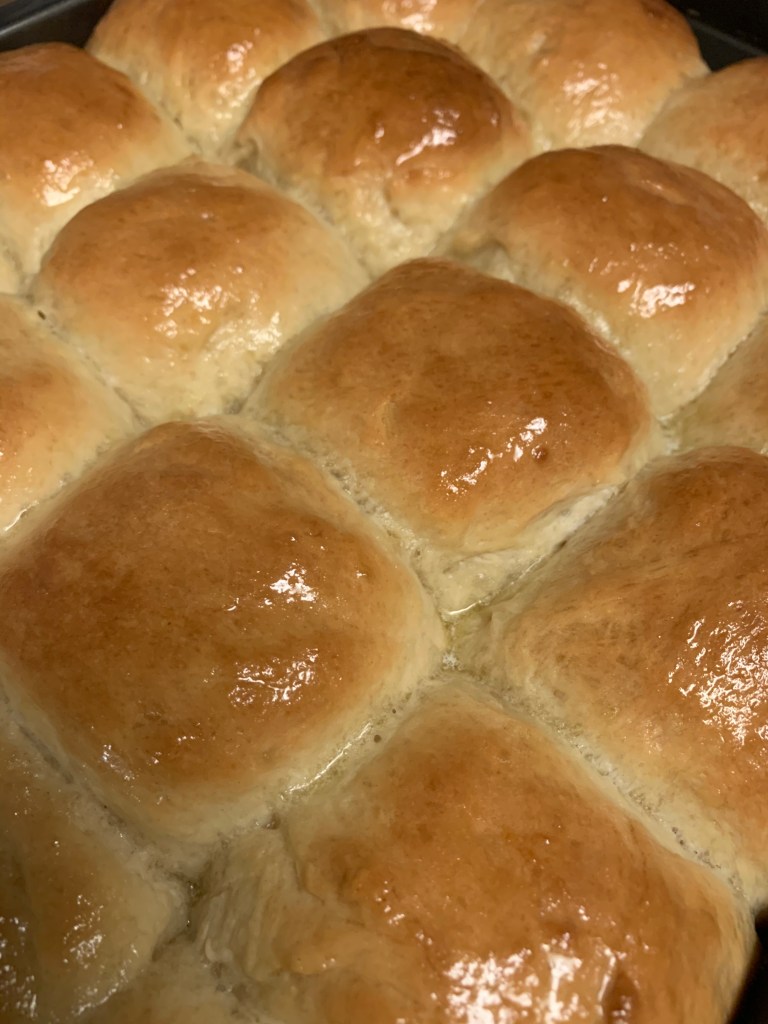
7.) Baste the rolls with a bit of milk to help them achieve that golden brown color and bake them at 350 degrees for about 20 to 25 minutes or until even browned. Once cooked, baste them again with melted butter and serve those bad boys up and enjoy!
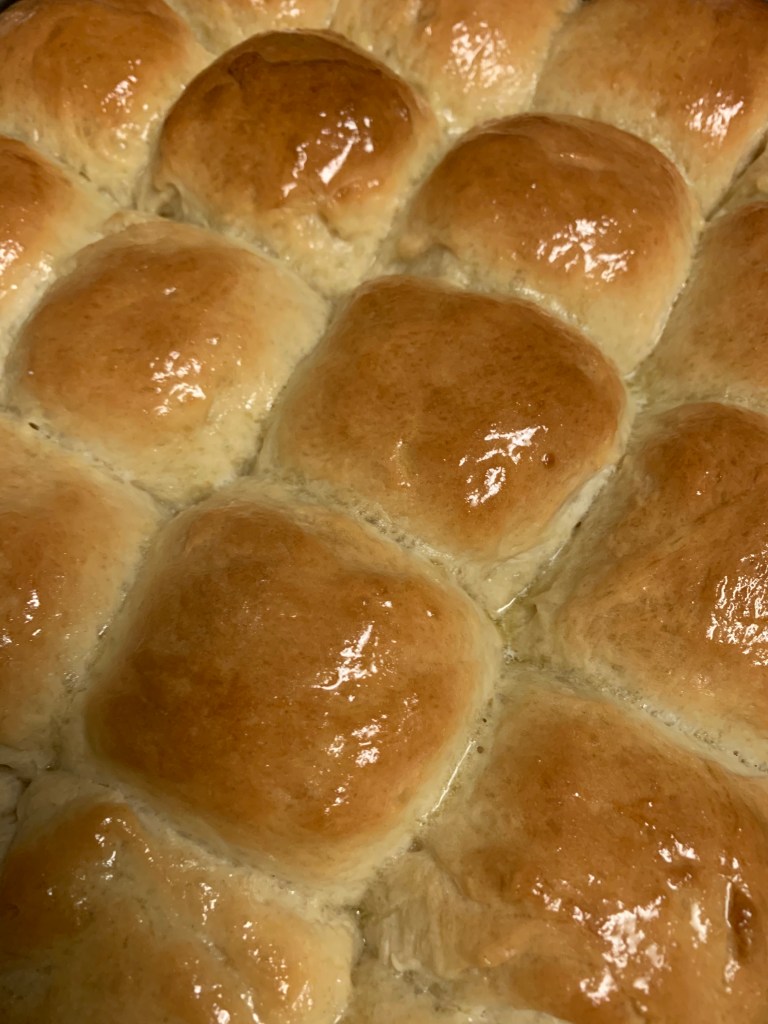
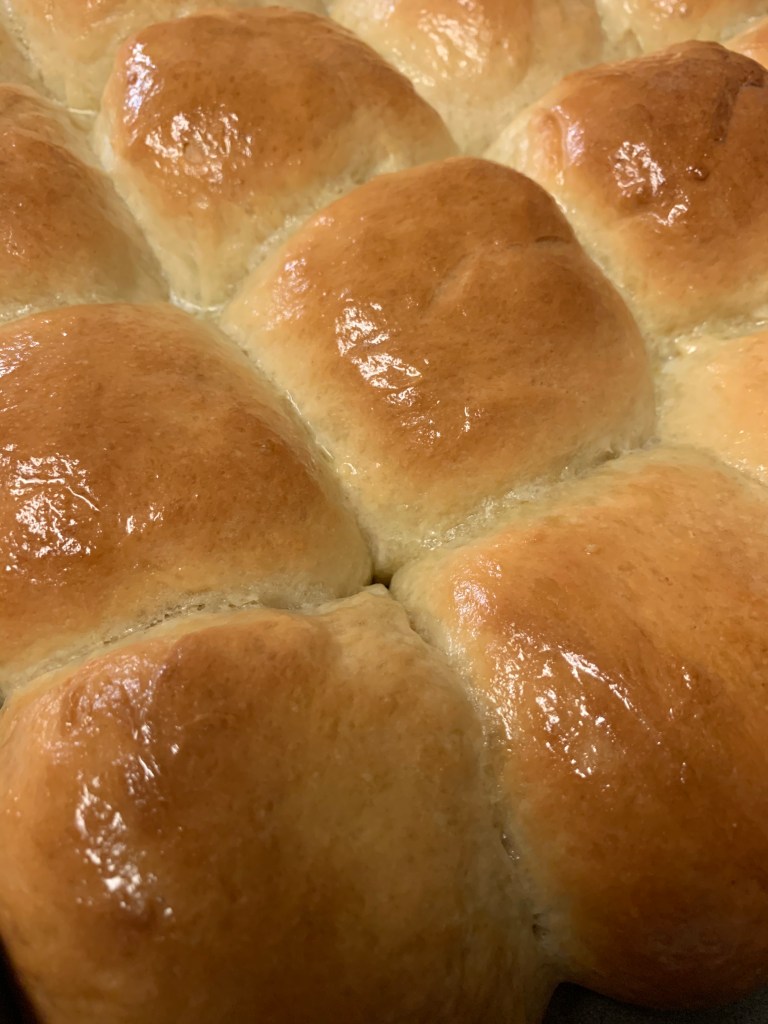
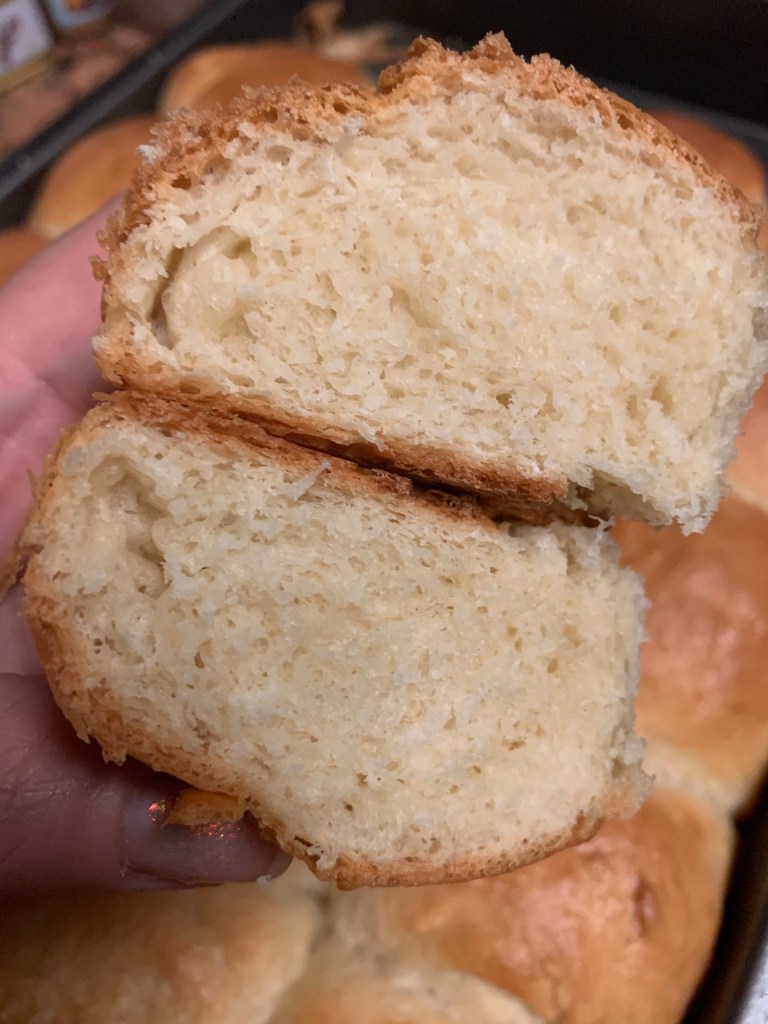
Don’t they look tasty as hell? Sexy, shiny, fluffy and oh so delicious! I’m telling you, meows… They’re really easy! And using that instant yeast really does make a huge difference. I mean, the proofing time is what takes the longest, but you could start making these mid morning and have fresh baked bread by early afternoon! And shape them however you like, too! Wanna make hot dog buns? Just make them bigger and roll them the long way! Or get crazy and bake a large loaf of bread and slice it up for toast and sandwiches! The dough itself is rather versatile and can really be served in any way you can think of. Serve them as dinner rolls, with your favorite soup or salad, make sliders… The list is endless!
And there you have it. Mystic Milk Bread. You’ll be so damn proud of yourself once you make them, and they’ll get better and better the more you do! I hope you give these a shot cause they’re fun to make and sooooo worth it! Until we eat again, meows… Happy Cooking!
Cheers, hugs, and meows!
xo Nikki 🖤✨🔮
Follow Mystic Meals/Siknik13 on Instagram, Twitter, Facebook, and TikTok!
